How to Style a Glass-Front Cabinet: The Statement Piece My Room Was Missing
Why it Works
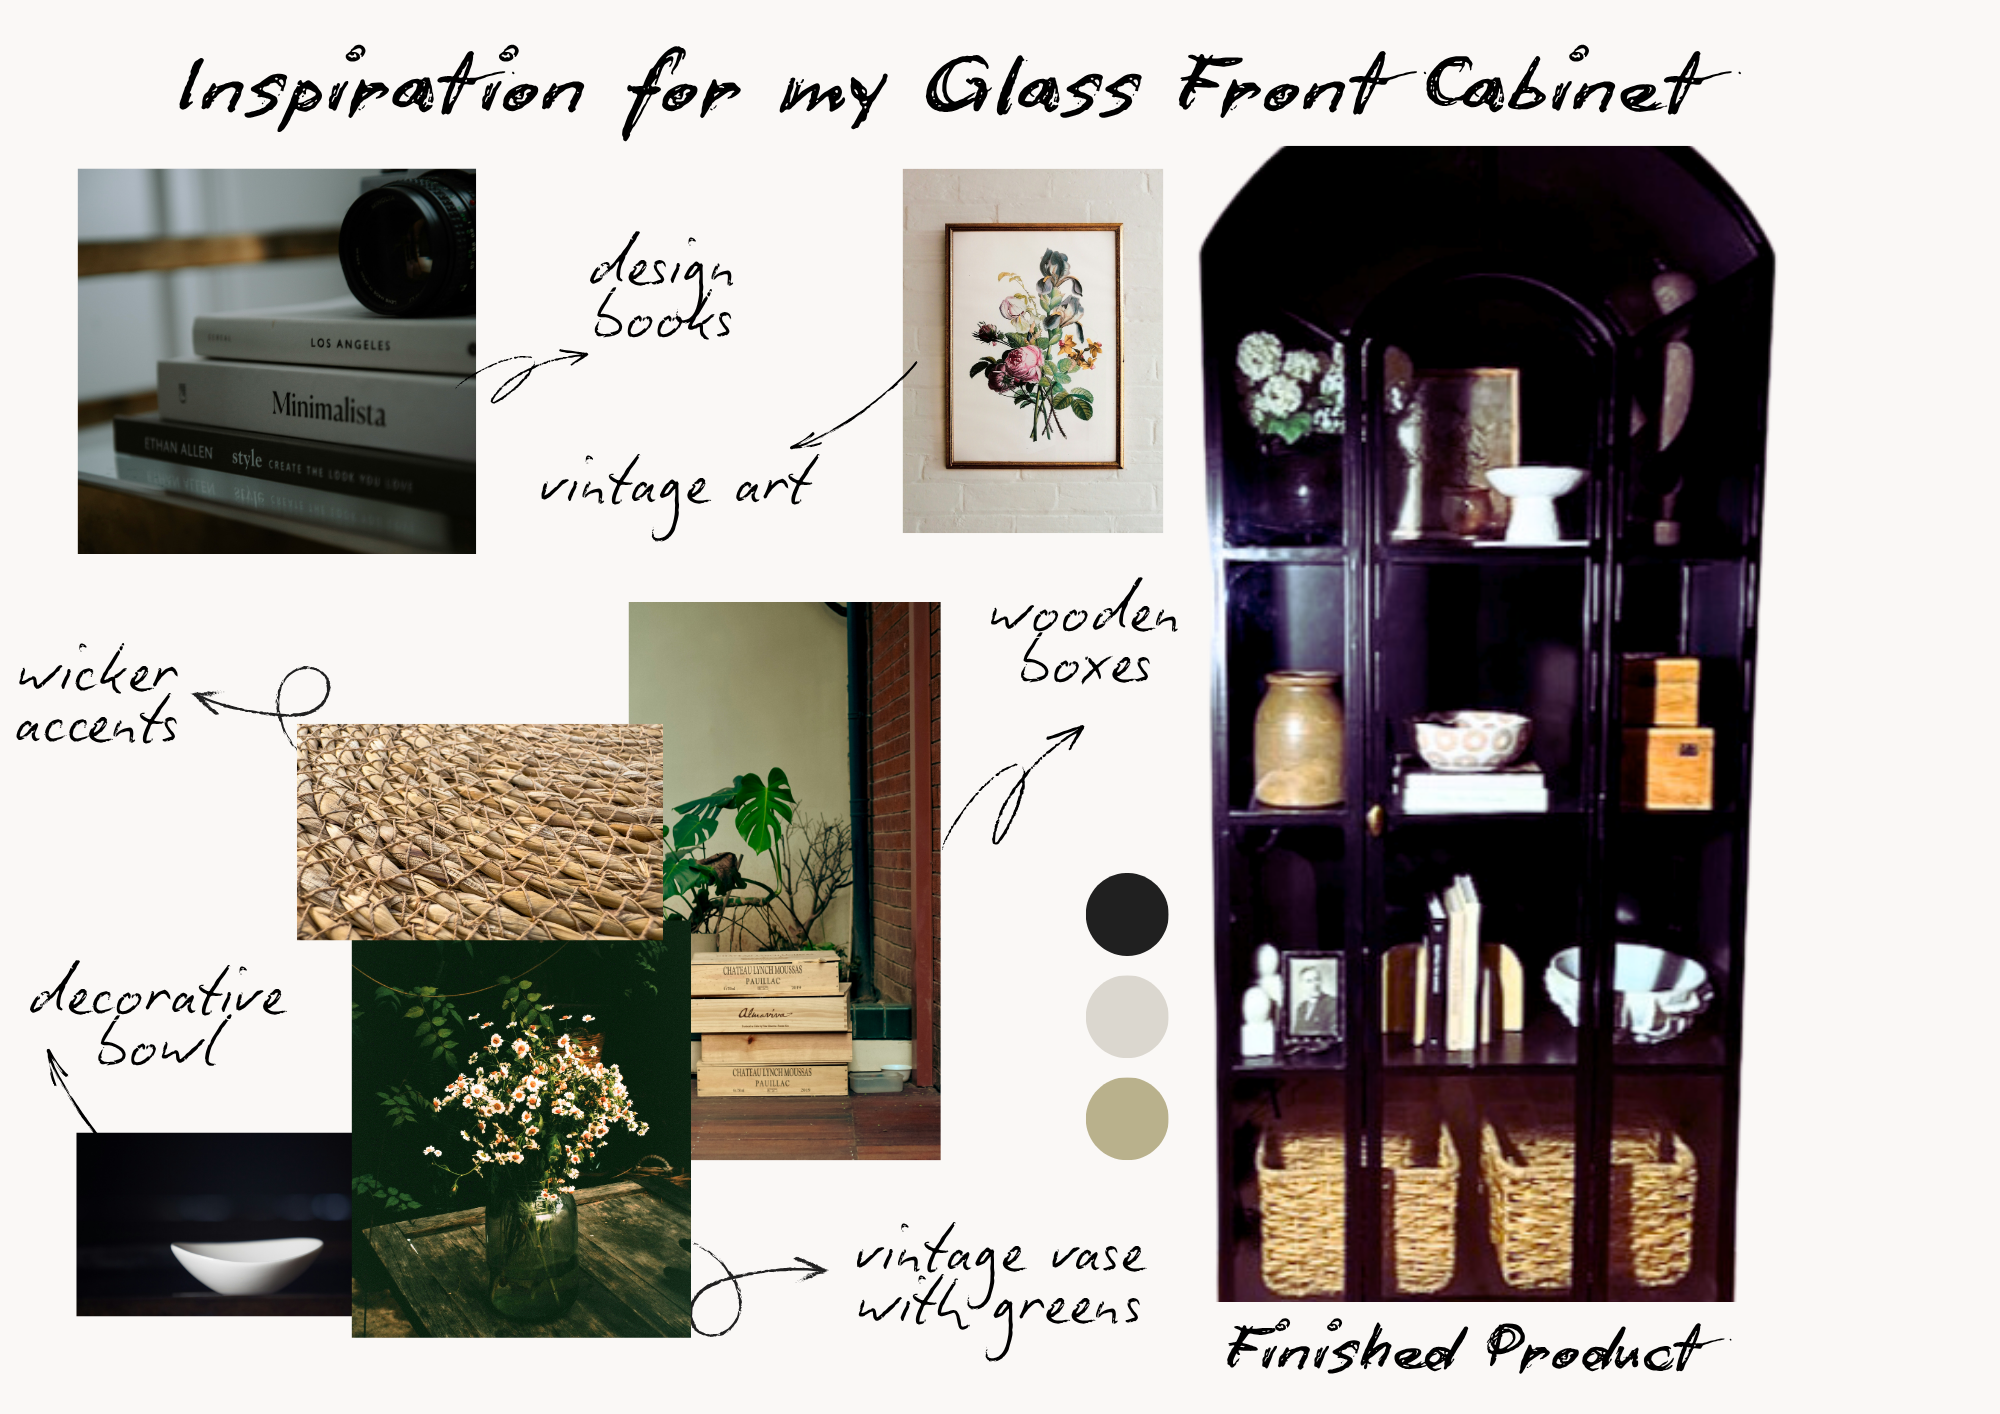
This cabinet became the focal point of the room because it adds contrast, curve and character without overwhelming the space. Styled simply, it feels collected, calm, and connected to the rest of the family room.
Shop the Mood Board
This post contains affiliate links. If you purchase through them, I may earn a small commission at no extra cost to you.

There are a few pieces in a home that do more than “fill space.” They change the room.
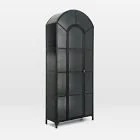
For me, this cabinet is one of them: a large black arched glass-front cabinet tucked perfectly into a cutout in our family room wall. I originally thought I’d do built-ins across the entire wall, but I intentionally left one section open — hoping I’d find a statement piece that added interest and a little drama.
I’m so glad I did.
The cabinet has become a focal point, and the arched shape is a surprisingly important detail. Our family room has a lot of linear, square shapes (so many rooms do). The curve breaks that up and adds softness — it’s subtle, but it makes the whole room feel more layered.
If you have a glass-front cabinet, china cabinet, curio cabinet, or closed shelving unit and you’re not sure how to style it, this post is my exact process — the way I approach it before buying anything new, how I build a cohesive palette and how I keep it from feeling cluttered (or like it’s just a dust magnet).
First: Decide what role the cabinet plays in the room
Before you style anything, decide what the cabinet is doing in the space.
For me, the cabinet is the statement piece — the impact moment. That means everything inside it needs to feel like it belongs in the room, not like a separate display that competes with the rest of the family room.
A helpful way to think about it:
The cabinet is the frame.
The objects inside are the supporting cast.
The room is the story.
When those three work together, the cabinet looks intentional instead of “styled.”
Step 1: Shop your house first (my favorite part)
My first step is always the same: I don’t buy anything yet.
Instead, I “shop” the house — closets, shelves, other rooms — and pull anything that could potentially work in the cabinet. This is especially helpful if you have pieces you love but haven’t found the right home for, or items that currently feel a bit lost in another space.
Here’s what I pull into one big styling pile:
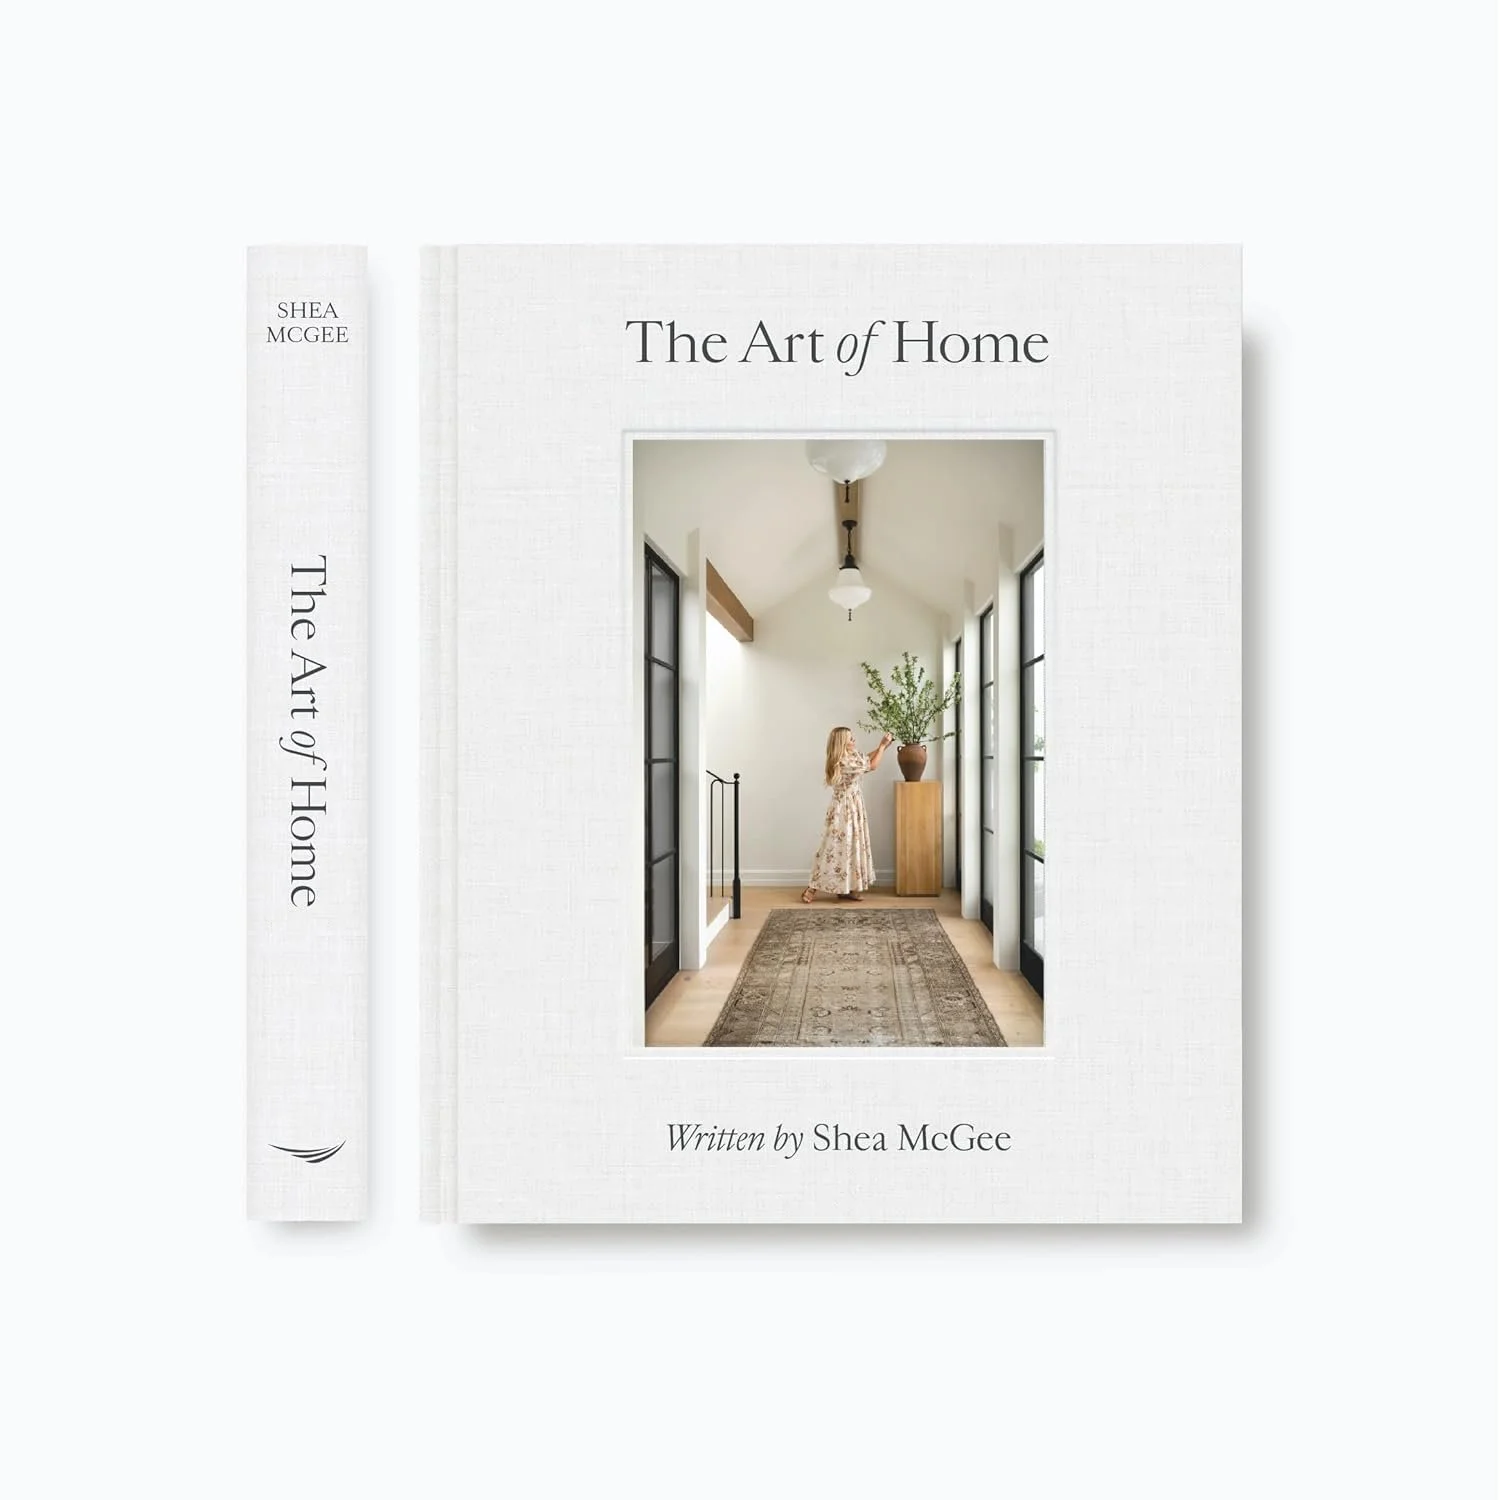
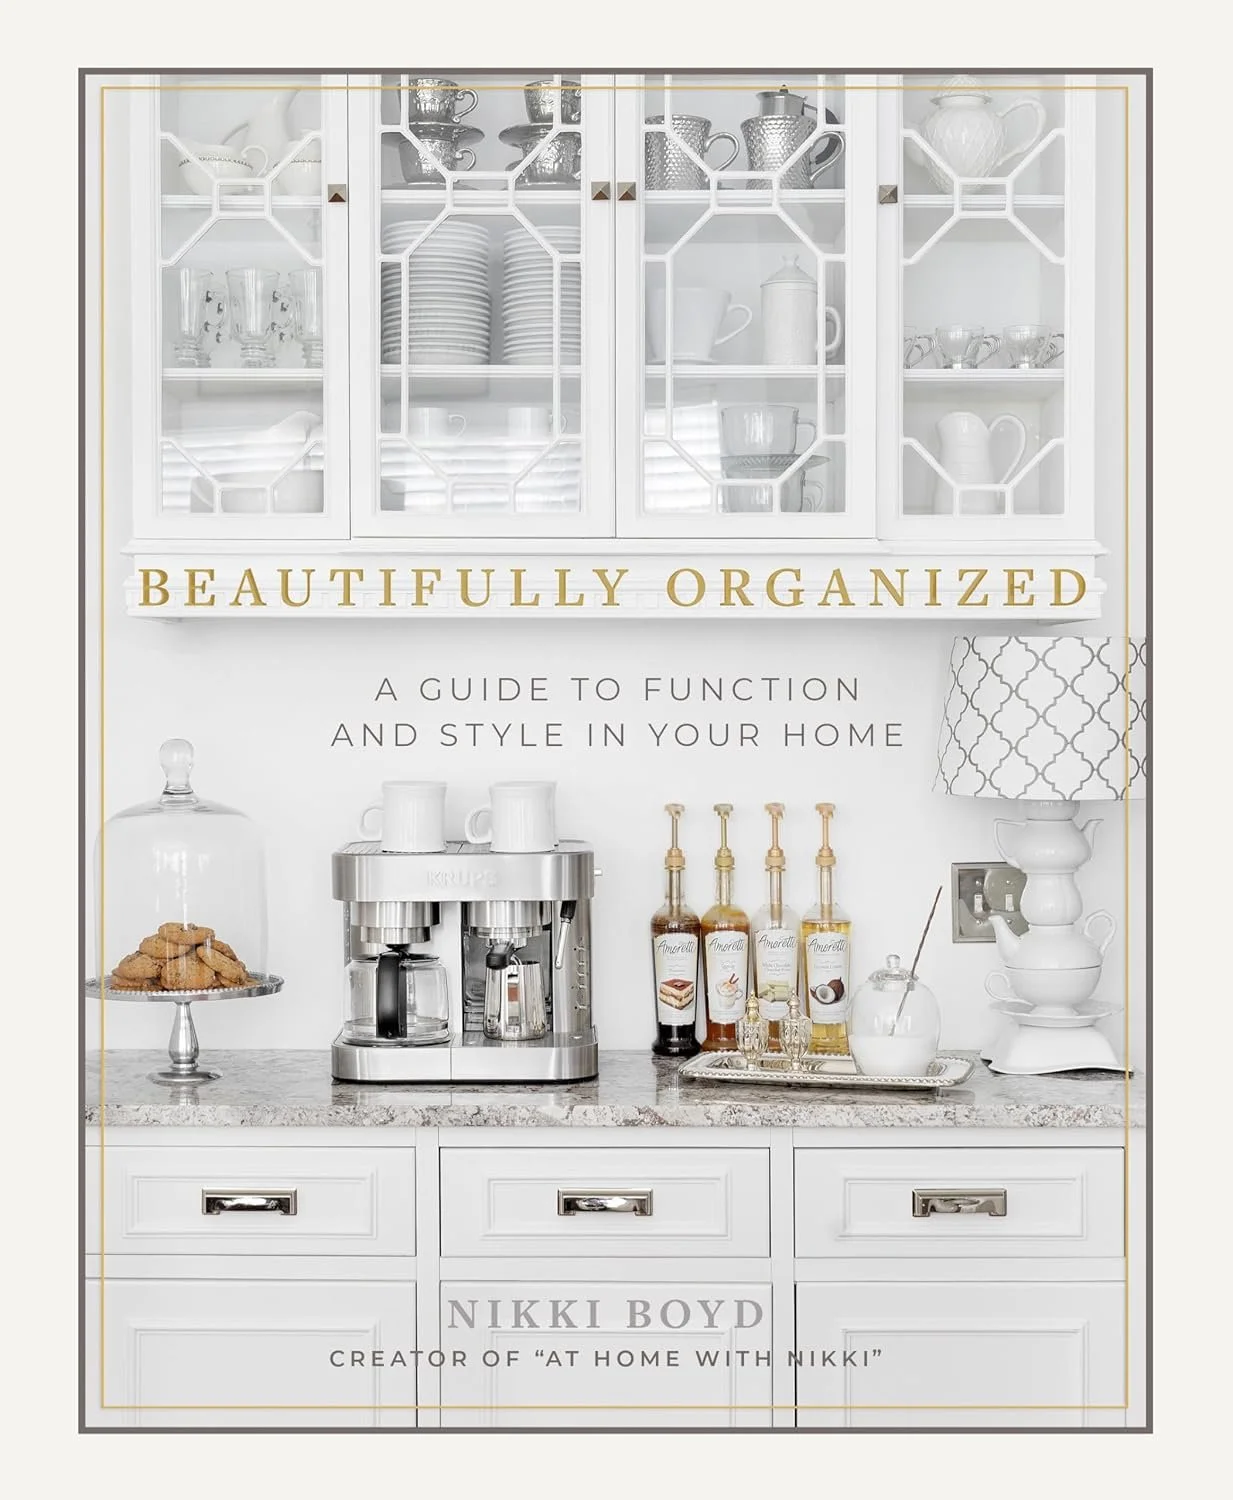
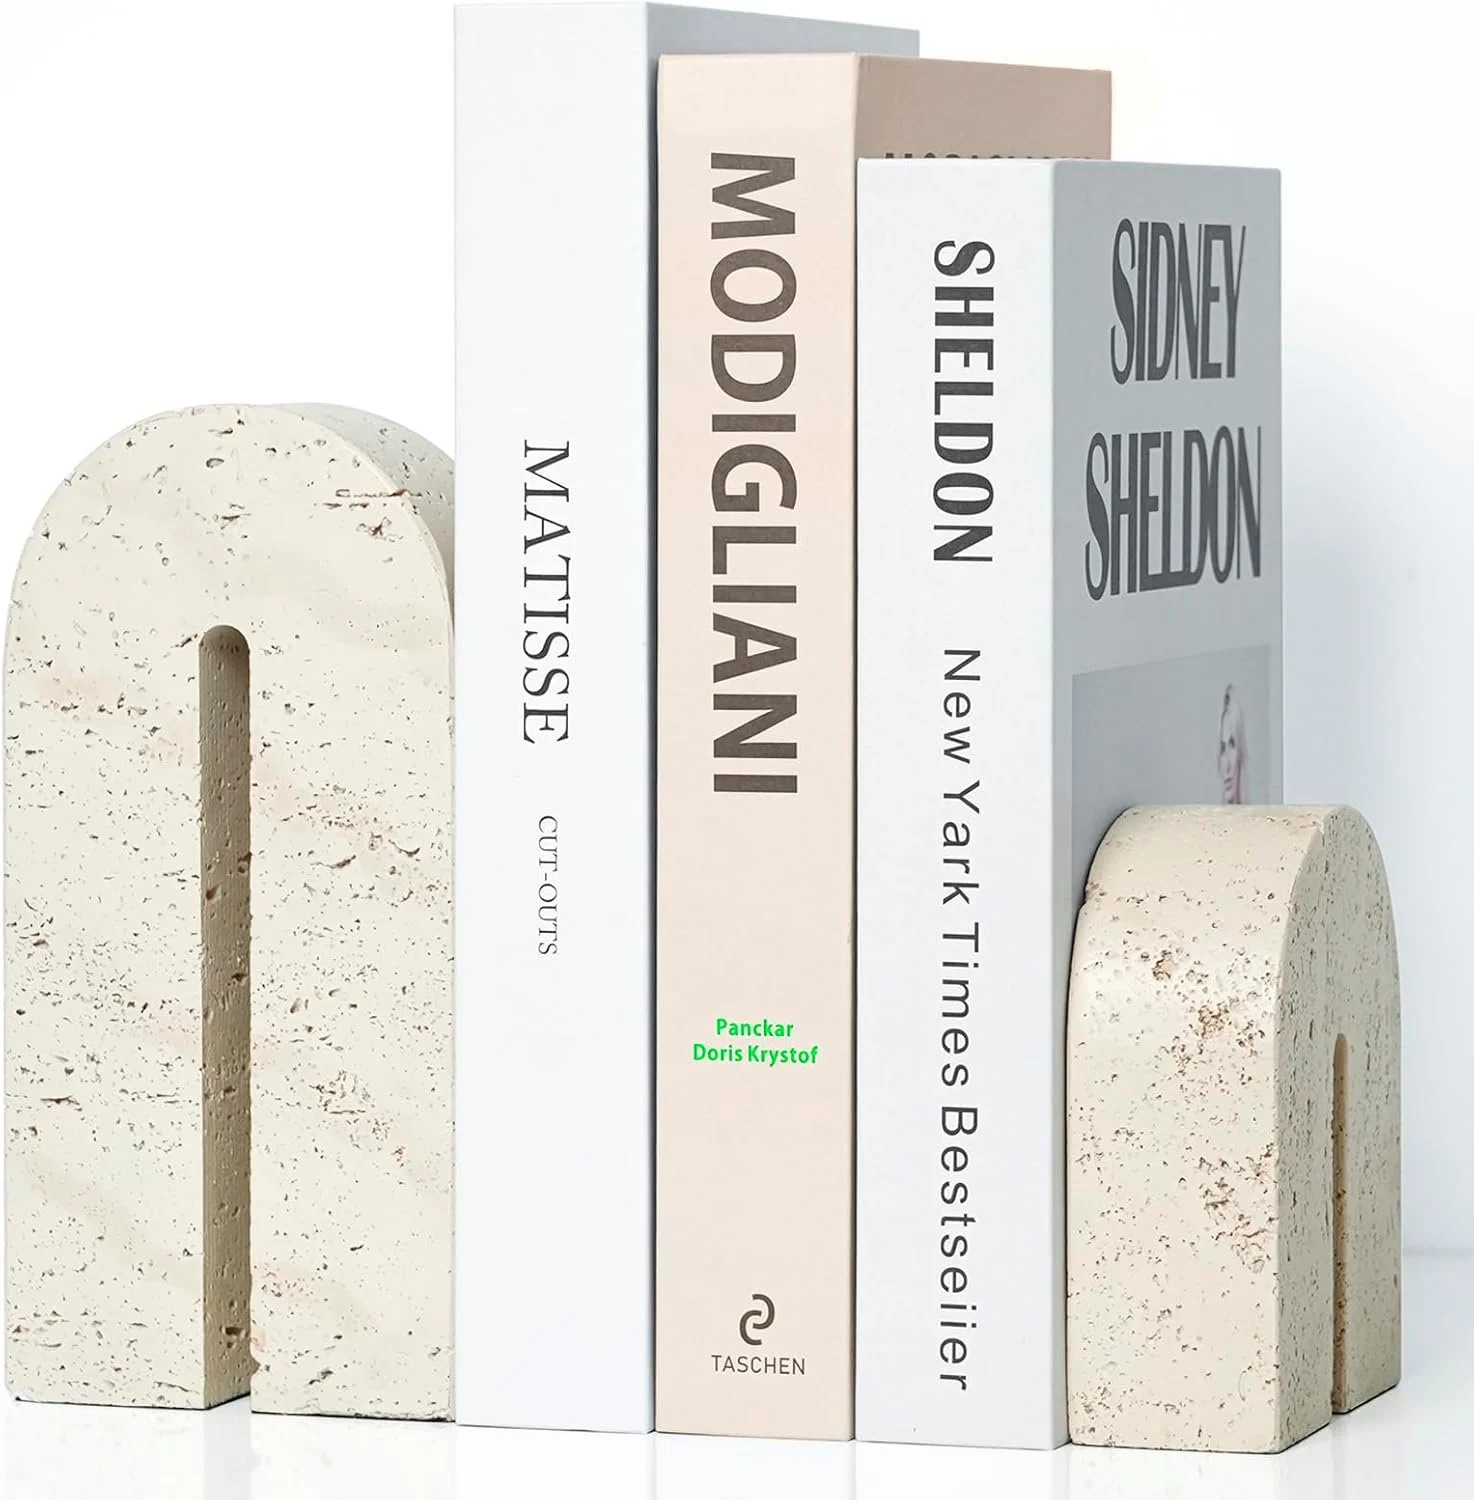
books (coffee table books, decor books, even neutral hardcovers)
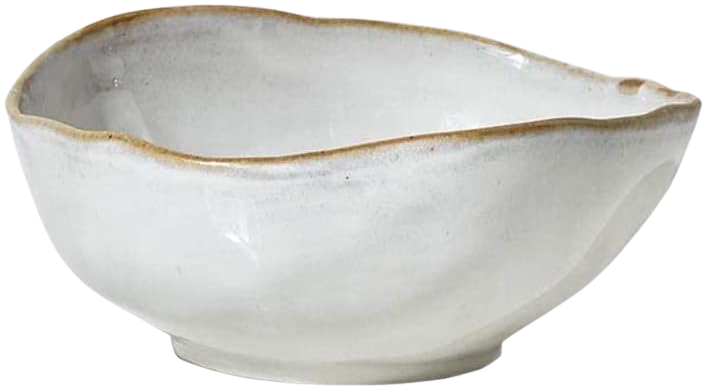
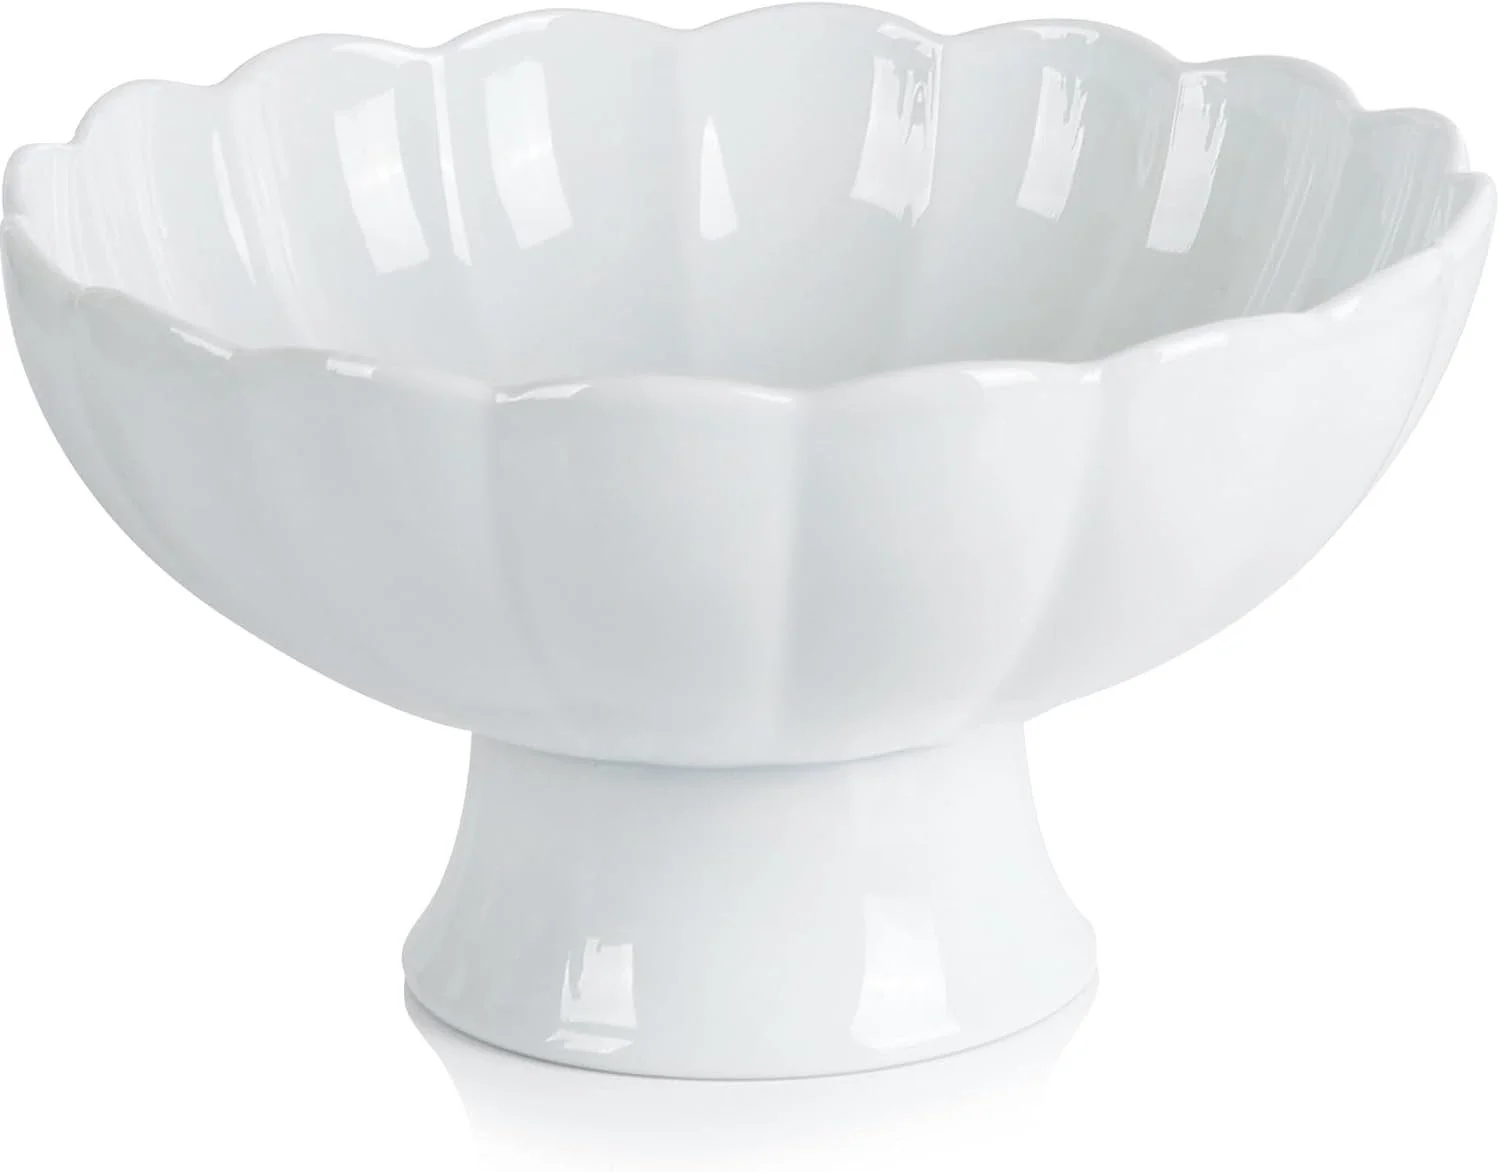
bowls, vases, vessels
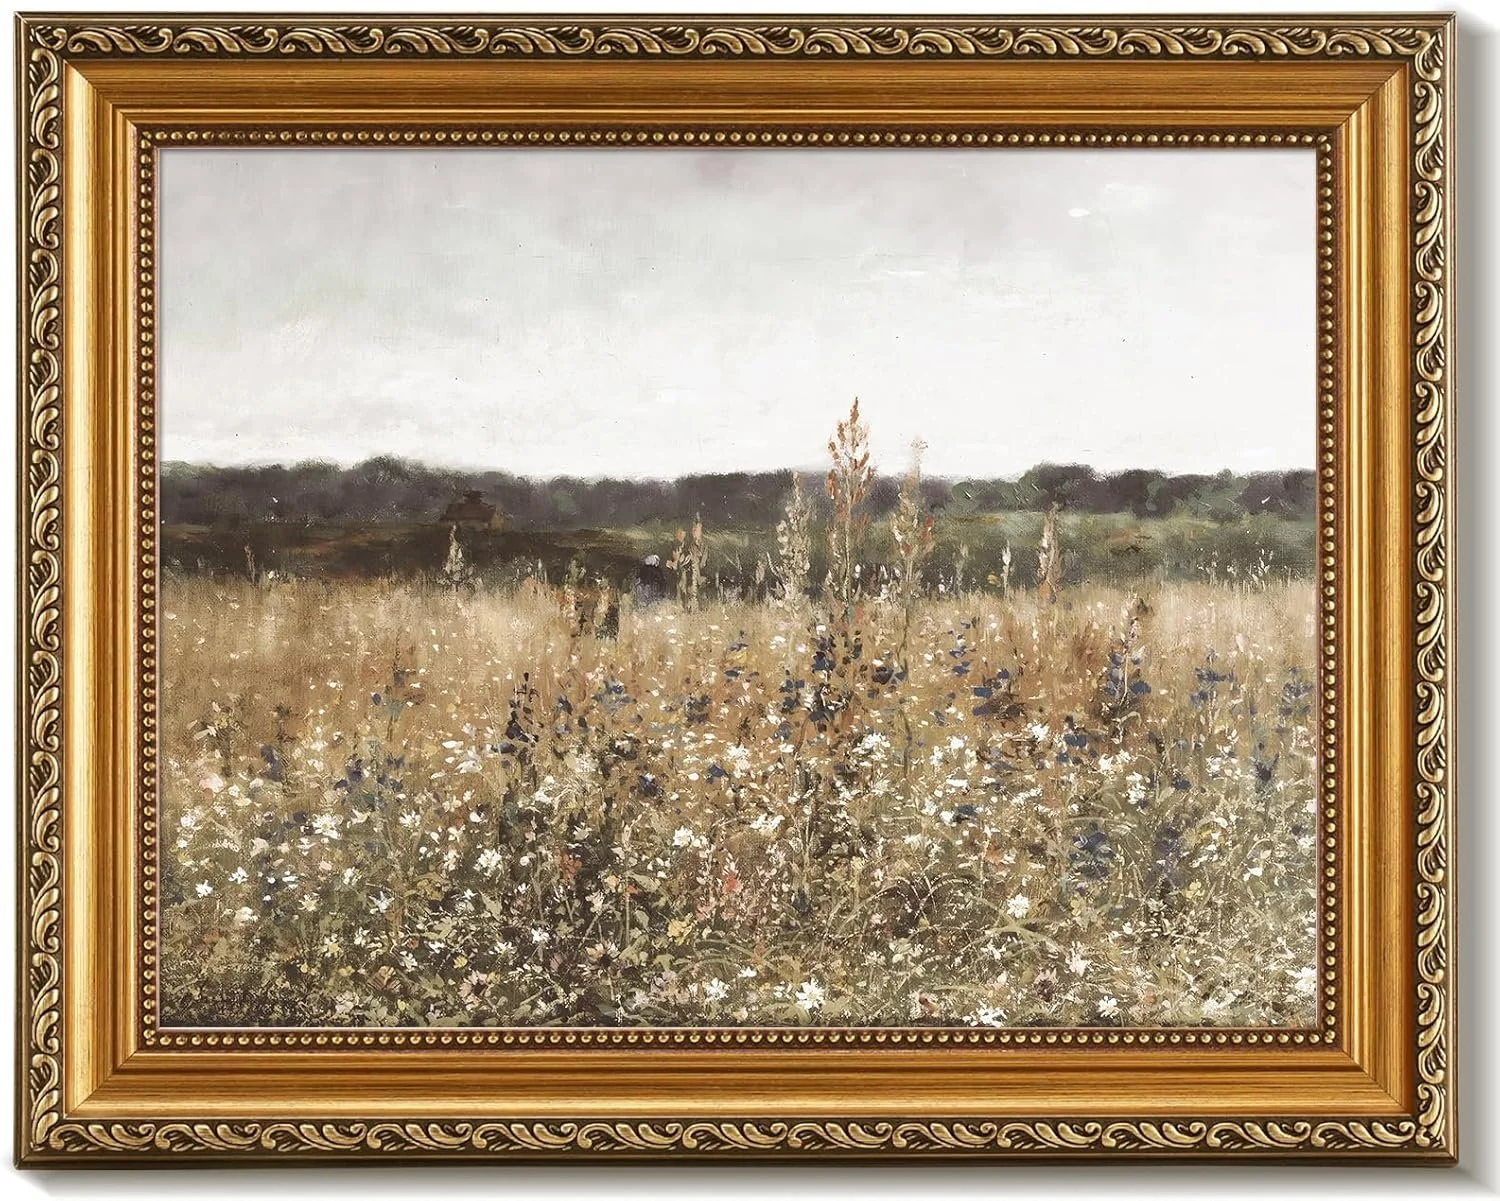
small framed art or photos
sculptural objects
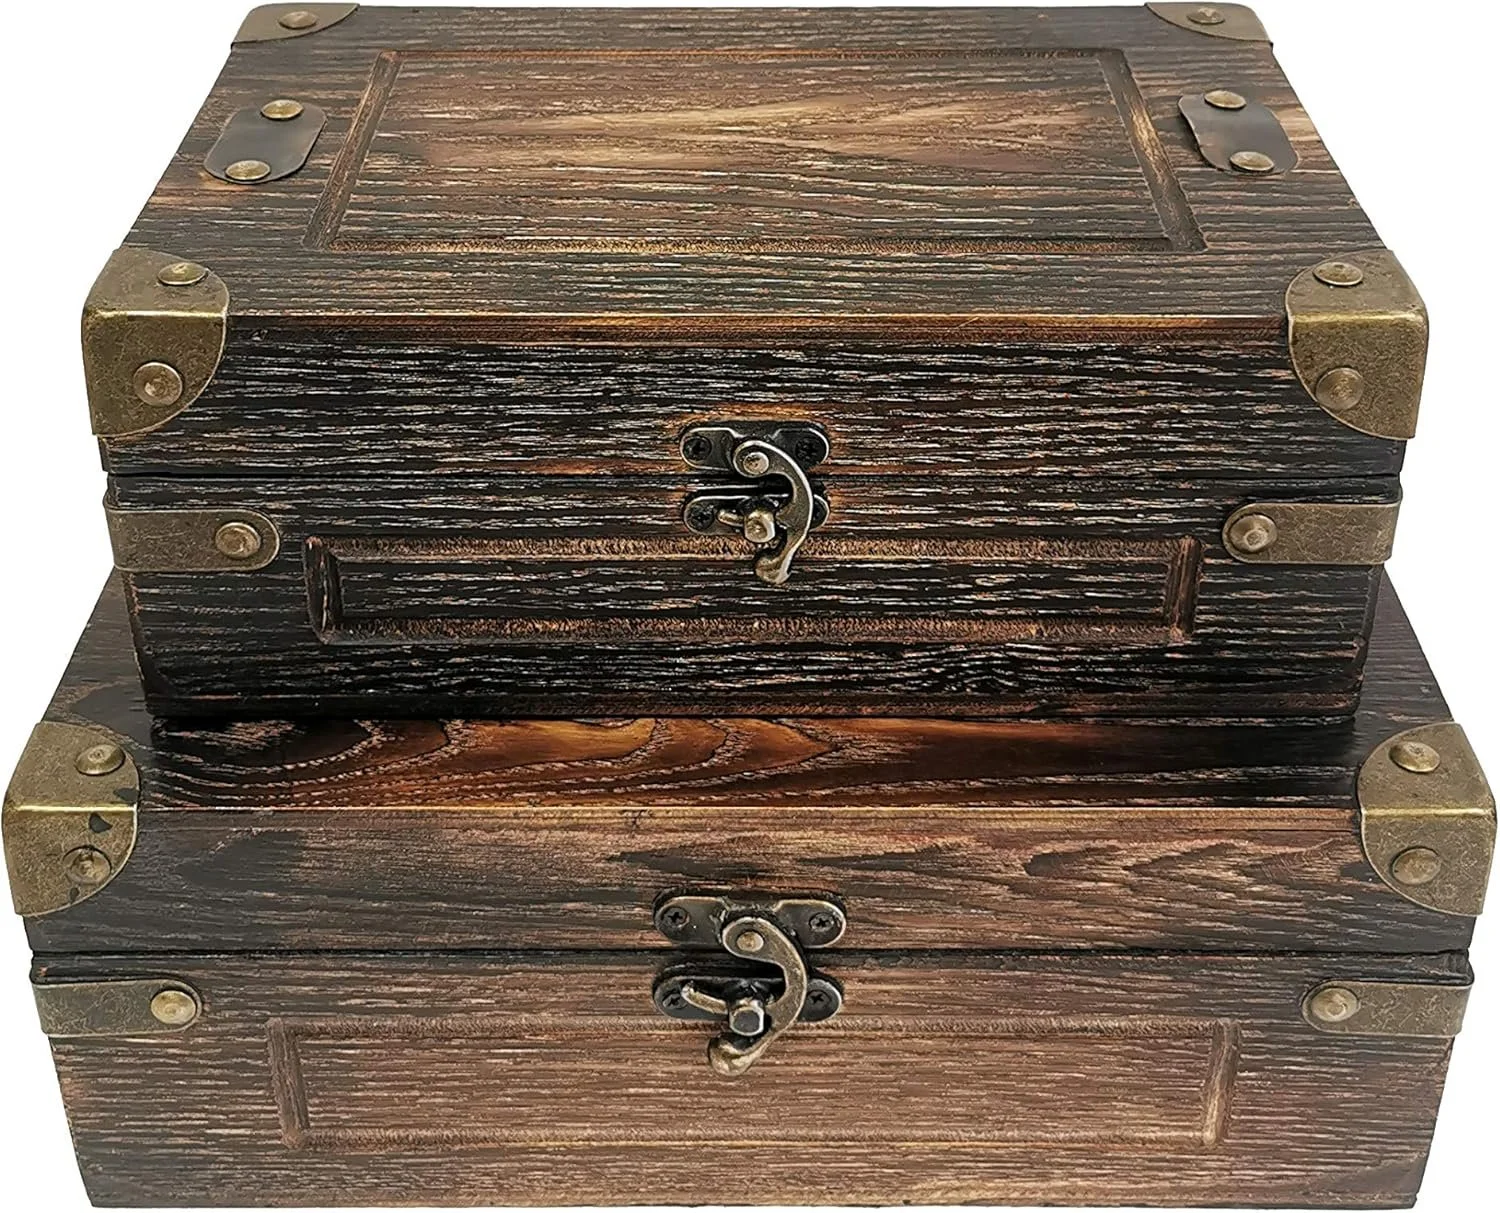
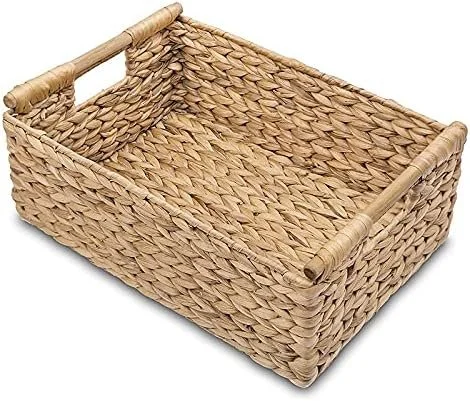
baskets or boxes (for grounding / texture)
candles and candleholders
anything with sentimental value and anything that simply looks beautiful
And a note that might be freeing if you need it:
Not everything needs a “meaning”
Some people feel everything in a cabinet has to be sentimental or functional. I don’t. I love meaningful pieces, but I also think a home can hold beauty just because it’s beautiful. If an object elevates the space and makes you feel good, sometimes that’s enough.
Step 2: Keep the room’s color palette in mind
A glass-front cabinet looks best when it feels connected to the room around it.
Since my cabinet is black (and already visually strong), I want the styling to feel like a seamless extension of the family room palette. Think: calm neutrals, warm woods, soft whites, and a few darker accents that echo the cabinet’s tone.
A quick rule I use:
2–3 main colors
1 metal tone
a mix of matte + textured finishes (so it doesn’t feel shiny and busy behind glass)
This keeps everything cohesive — and it prevents the cabinet from looking like a random collection of objects you happened to own.
Step 3: Start with books (they’re the easiest “styling tool”)
Books are my go-to for glass cabinets in a family room, because they instantly add:
height variation
structure and layering
an “already lived here” feeling
And the best part? Books aren’t just books — they’re risers.
Here are a few ways I use them:
stack horizontally as a base (then place an object on top)
stand vertically to create height (bookends optional)
flip some so the pages face out for a softer, neutral look
mix in a couple of larger decor books to anchor a shelf
Books are the thing that makes shelves look “collected” instead of “placed.”
Step 4: Build shelves in layers (back, middle, front)
Glass-front cabinets have depth — use it.
Instead of lining everything up in one row, I think in layers:
Back layer: taller items (vases, framed art, larger objects)
Middle layer: books, bowls, medium-height pieces
Front layer: small sculptural objects, candleholders, a small stack of books
Layering is what makes a cabinet feel designed — and it creates that subtle sense of depth you see in beautifully styled homes.
Step 5: Pay attention to height and proportion
This is the part most people skip, and it’s the part that makes the difference.
A cabinet looks best when the height across each shelf feels intentionally varied:
one taller piece
a medium cluster
one lower piece to let the eye rest
If everything is the same size, it feels flat. If everything is tall, it feels crowded.
Easy ways to adjust height:
use stacked books as risers
add a stand/pedestal for one special object
place a small object on top of a horizontal stack
Step 6: Create “moments,” not rows
Instead of thinking “I need to fill this shelf,” think:
I’m creating 2–3 small moments per shelf.
A “moment” can be as simple as:
a horizontal stack of books + a small bowl
a vase + a candleholder + a tiny object
a framed photo leaned against the back + a sculptural piece in front
When shelves become moments, they feel calm and designed — not like storage.
Step 7: Edit hard (especially in a black cabinet)
Black is gorgeous… and it shows everything.
Because the cabinet itself is dramatic, you don’t need a lot inside it to make it feel special. In fact, less usually looks better behind glass.
A helpful guideline:
leave a little negative space on each shelf
keep a few shelves intentionally simpler
don’t fill every inch “just because it’s there”
Your eye should be able to rest. That’s what makes it feel elevated.
Step 8: Make peace with dust (and style accordingly)
A glass-front cabinet feels polished… but it also means you’ll notice dust, especially on darker shelves or darker objects.
Two things help:
Keep it simple (fewer objects = easier cleaning)
Choose pieces that don’t show every speck (texture and matte finishes hide more than glossy)
It’s a showpiece, but it should still feel liveable.
Step 9: Experiment — and let it evolve
I rarely get it perfect on the first try.
I’ll style it, live with it, then tweak:
swap one object for something with softer texture
change one stack from vertical to horizontal
remove one item entirely
shift a shelf so it feels less symmetrical
Sometimes the best styling happens after you’ve looked at it for a few days and realized what feels slightly “off.” Let it be a process. That’s part of the fun.
Final thought: It’s not a museum — it’s your home
The best styled cabinet doesn’t look perfect. It looks like you.
A mix of beautiful objects, a few practical anchors (books), some breathing room, and a palette that connects back to the room — that’s what makes it feel intentional.
And if you need permission to make it simple: the cabinet itself can do most of the talking.